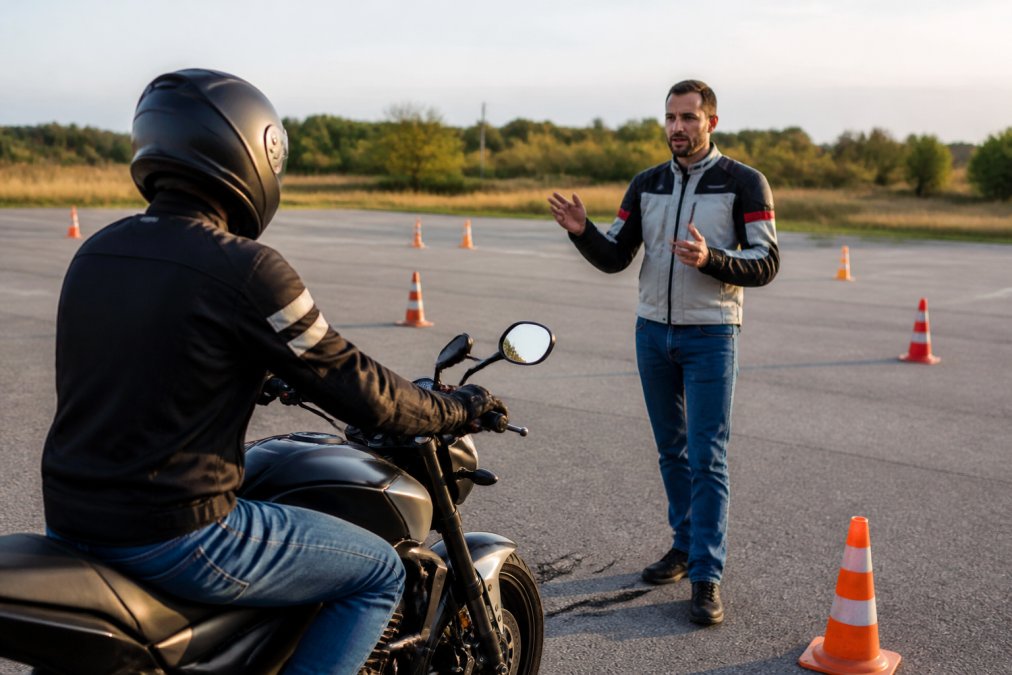
 how-to
How to Learn Motorcycle Riding: A Beginner's Guide
Table of Contents
- Start with a Motorcycle Safety Course
- How Long Is a Motorcycle Safety Course?
- Motorcycle Endorsement Requirements in Florida
- Getting Familiar with Motorcycle Controls
- Essential Safety Gear for Beginner Riders
- Choosing the Right Beginner Motorcycle
- Practicing Balance and Slow-Speed Control
- Basic Riding Habits and Techniques
- What Most Beginners Get Wrong
- Frequently Asked Questions
Last Updated: September 18, 2026
Start with a Motorcycle Safety Course
To learn motorcycle riding without bad habits you'll spend years unlearning, start in a parking lot with a certified instructor, not on the street with a friend. A structured safety course is the fastest, safest path to confident riding.
What the MSF Curriculum Covers
The MSF curriculum covers the full beginner arc: controls, clutch and throttle control, slow-speed maneuvering, turning, braking, and street-strategy classroom work, plus an online eCourse.
Expect to practice these skills on a training bike:
- Finding the friction zone and releasing the clutch smoothly
- Using the throttle, front brake, and rear brake together
- Slow-speed maneuvers like figure-eights and tight turns
- Emergency braking and swerving
- Head checks, mirror use, and blind-spot awareness
Why Courses Beat Learning on Your Own
Learning from a friend feels cheaper but costs more long-term: untrained teachers pass along their own habits, while a certified instructor corrects mistakes before they become reflexes.
How Long Is a Motorcycle Safety Course?
A standard Basic RiderCourse runs about 15 to 20 hours, usually spread across two days of classroom and range time.
The schedule typically breaks down like this:
| Segment | Typical Duration | What Happens |
|---|---|---|
| MSF eCourse | 3-5 hours | Online classroom, self-paced |
| Range day one | 5-6 hours | Controls, clutch, slow-speed basics |
| Range day two | 5-6 hours | Turning, braking, skills test |
Motorcycle Endorsement Requirements in Florida
In Florida, you need a motorcycle endorsement on your driver license to ride legally on public roads, earned by completing a state-approved safety course or passing the state riding skills test. Florida's Rider Training Program lets you skip the DMV riding skills test with an approved Basic RiderCourse, you still need to pass the written knowledge test and pay the endorsement fee.
Steps to Get Your Motorcycle License
- Complete an approved Basic RiderCourse, such as the Basic Rider Course offered by Tampa Motorcycle Training.
- Receive your completion card from the training provider.
- Visit a Florida DMV office and pass the written motorcycle knowledge test.
- Pay the endorsement fee and have the endorsement added to your license.
- Start riding legally on public roads.
For current fees and paperwork requirements, check the Florida Department of Highway Safety and Motor Vehicles motorcycle endorsement page.
Getting Familiar with Motorcycle Controls
Before you ride, you should be able to name and locate every control without looking down, "muscle memory before motion." It's the difference between a smooth first ride and a stall in traffic.
Here's what you're working with:
- Clutch lever (left hand): controls power to the rear wheel
- Throttle (right hand): twists toward you to accelerate
- Front brake lever (right hand): the primary stopping force
- Rear brake pedal (right foot): used with the front brake
- Gear shifter (left foot): one down, four or five up
- Turn signals, horn, and kill switch: all on the handlebars
Essential Safety Gear for Beginner Riders
A helmet is required by law in Florida for riders under 21 and strongly recommended for everyone, but a full gear kit protects the parts of your body most likely to hit the ground.
Your starter kit should include:
- A DOT-approved full-face helmet
- A riding jacket with armor at shoulders, elbows, and back
- Riding gloves with reinforced palms
- Over-the-ankle motorcycle boots
- Eye protection (built into most full-face helmets)
Choosing the Right Beginner Motorcycle
The best beginner bike is one you can flat-foot at a stop, lift off its kickstand without strain, and control at low speed. Displacement matters less than fit and weight.
Look for these specs:
- Displacement: 250cc to 500cc for most new riders
- Seat height: low enough that both feet touch the ground
- Curb weight: under 400 pounds if possible
- Style: standard or cruiser over sportbike for a gentler learning curve
Practicing Balance and Slow-Speed Control
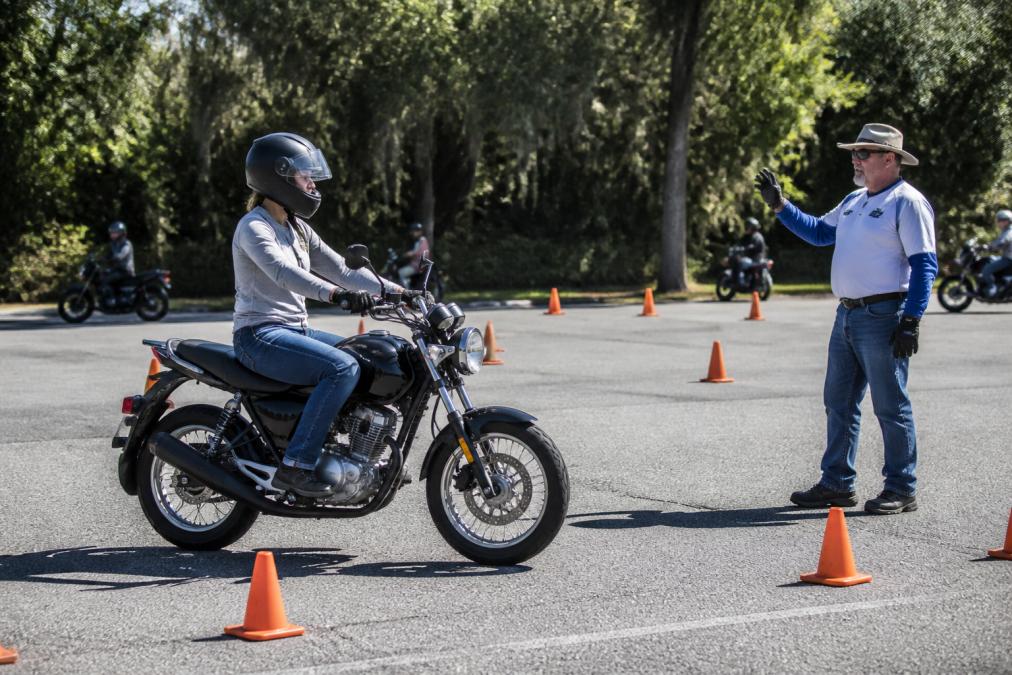
Slow-speed control is where most new riders struggle. At walking pace the bike has almost no gyroscopic stability, so balance comes from the clutch, the rear brake, and your eyes, which is why every Basic RiderCourse range exercise starts here.
Set Up a Practice Lot the Right Way
You don't need cones, tennis balls cut in half, chalk, or crushed water bottles work. Mark an 18-by-18-foot box and a straight lane about 20 feet long and 3 feet wide.
The Drill Progression
Run these in order, and don't move on until the current drill feels boring.
Register for the Basic Rider Course →
- Friction-zone walk. Bike off, feet down, engine running. Slowly release the clutch until the bike creeps forward, then pull it back in. Repeat 20 times. You're training your left hand, not your balance.
- Straight-line slow ride. Ride the 20-foot lane at walking pace using only the clutch and rear brake. Target: 8-10 seconds to cross. If you put a foot down, restart.
- Stop-and-go. From the slow ride, stop smoothly, then start again, all clutch and rear brake, no front brake at low speed. The front brake at walking pace will tip you over.
- Figure-eights. Two full figure-eights inside the 18-foot box. Head up, eyes on the exit of each turn, not on the front tire.
- U-turns. One U-turn inside a single lane width (about 12 feet). Lean the bike, not your body, counterweight by shifting your weight to the outside peg.
- Weave. Set markers 12 feet apart and weave through them at walking pace. This is the drill that exposes a stiff upper body.
Coaching Cues That Actually Work
- Look where you want to go. Your hands follow your eyes. Staring at the front wheel guarantees a wobble.
- Keep the clutch in the friction zone. Most stalls happen because the rider fully releases the clutch at low speed. Feather it.
- Drag the rear brake. Light, constant pressure on the rear brake stabilizes the bike at low speed. This is the single biggest trick new riders miss.
- Grip the tank with your knees. Your lower body holds the bike; your upper body stays loose.
- Turn your head first, then the bars. Your shoulders follow your head, and the bike follows your shoulders.
Common Failure Modes
- Dropping the bike at a stop. Usually caused by grabbing the front brake with the bars turned. Straighten the bars before you brake.
- Wide U-turns. Almost always a head-turn problem, not a lean problem. Look at the exit.
- Stalling mid-turn. Clutch released too fast. Stay in the friction zone through the whole turn.
Practice slow-speed drills for 20-30 minutes, not two hours. Fatigue kills fine clutch control, and bad repetitions under fatigue build bad habits. Short, focused sessions three times a week beat one long weekend session.
Once figure-eights and U-turns feel automatic, you've built the foundation that makes everything else, turning at speed, braking, riding in traffic, easier to learn.
Basic Riding Habits and Techniques
Good riders aren't the ones who take the most risks. They scan ahead, ride in the visible part of the lane, and assume no one sees them.
Core habits to build early:
- Keep your head and eyes up, scanning 12 seconds ahead
- Ride in the left or right third of your lane, not the center
- Check mirrors and do a head check before every lane change
- Leave a two-second following distance minimum
- Cover the front brake in traffic
Turning, Braking, and Counter-Steering
Above roughly 12 mph you steer by counter-steering: press the handlebar in the direction you want to turn and the bike leans that way. At low speeds you steer normally. For braking, use both brakes together with more force on the front, which provides most stopping power. Squeeze progressively rather than grabbing, and practice emergency braking in a lot before you need it in traffic.
What Most Beginners Get Wrong
The mechanical mistakes get all the attention, skipping the course, buying too much bike, never drilling slow-speed work. But the mistakes that actually end riding careers in the first six months are psychological.
The Mechanical Mistakes (Briefly)
- Skipping the course because a friend offered to teach them. Untrained teachers pass on untrained habits.
- Buying too much bike for the first season. A 250cc-500cc standard you can flat-foot will teach you more in three months than a 900cc sportbike will in a year.
- Practicing only at speed and never drilling slow-speed control. Speed hides bad inputs; slow speed exposes them.
Fix those three and you've cleared the easy hurdles. The hard ones are next.
The Psychological Mistakes Nobody Warns You About
1. Treating riding anxiety as a sign you're not cut out for it.
3. Skipping the post-course plan.
- Weeks 1-2: Ride only on quiet neighborhood streets and empty lots. Re-drill the range exercises.
- Weeks 3-6: Add low-traffic secondary roads. Practice lane positioning and following distance.
- Weeks 7-12: Add brief stretches of higher-speed road, ideally with a more experienced rider nearby.
- Months 4-6: Take a refresher range session or an advanced course. Skills decay fast without deliberate practice.
4. Not telling anyone they're learning.
A Quick Self-Check Before Each Ride
Before you start the engine, ask:
- What skill am I practicing today?
- What's my route, and does it match my current skill level?
- Am I riding because I want to, or because I feel like I should?
If you can't answer the first two, you're not ready to ride. If the answer to the third is "should," skip the ride. Fatigue and obligation are two of the most underrated crash factors for new riders.
Frequently Asked Questions
Can I teach myself to ride a motorcycle?
You can learn basic controls on your own, but self-teaching skips the structured feedback that prevents crashes. An MSF-certified motorcycle course teaches clutch control, throttle management, and emergency braking in a controlled lot with instructors correcting your mistakes in real time. Most states, including Florida, require a safety course to get your motorcycle endorsement anyway. Self-teaching also means you miss the friction zone drills and slow-speed maneuvers that build real confidence before you ride in traffic.
Do I need a motorcycle license to take a training course?
No. You do not need a motorcycle endorsement to enroll in a Basic Rider Course. You only need a valid driver's license or learner's permit. The course itself is how most beginners earn the endorsement. In Florida, completing an approved course lets you skip the DMV riding skills test and go straight to adding the endorsement to your license. Motorcycles and helmets are typically provided, so you do not need your own bike to start learning.
How long does it take to learn how to ride a motorcycle?
A structured motorcycle safety course condenses the basics into about two days of classroom and range instruction. That covers motorcycle controls, balance, braking, and turning well enough to pass a skills test. After the course, expect several weeks of low-traffic practice to build traffic awareness and defensive riding habits. Riders who practice slow-speed maneuvers and head checks consistently get comfortable faster than those who only ride on weekends.
What is the 12-second rule for motorcycles?
The 12-second rule means you should scan at least 12 seconds ahead of your motorcycle to spot hazards before they reach you. At city speeds that is roughly one block; on the highway it is about a quarter mile. This gives you time to adjust your throttle, change lanes, or brake smoothly instead of reacting at the last second. Instructors teach it alongside head checks and blind spot awareness because most crashes happen when riders only look at the car directly in front of them.