 how-to
How to Learn Motorcycle Controls Safely: 2026 Guide
Table of Contents
- Motorcycle Controls for Beginners: What You're Actually Operating
- How to Use a Motorcycle Clutch and Throttle Together
- Motorcycle Gear Shift Pattern and Shifting Smoothly
- How to Stop a Motorcycle Safely: Front Brake, Rear Brake, and Engine Braking
- A Low-Risk Practice Progression for New Riders
- Emergency Control Use and When to Seek Qualified Instruction
- Frequently Asked Questions
Last Updated: October 9, 2026
Motorcycle Controls for Beginners: What You're Actually Operating
Learning how to learn motorcycle controls safely starts with one truth: a motorcycle has five controls that matter, and your hands and feet each own a share.
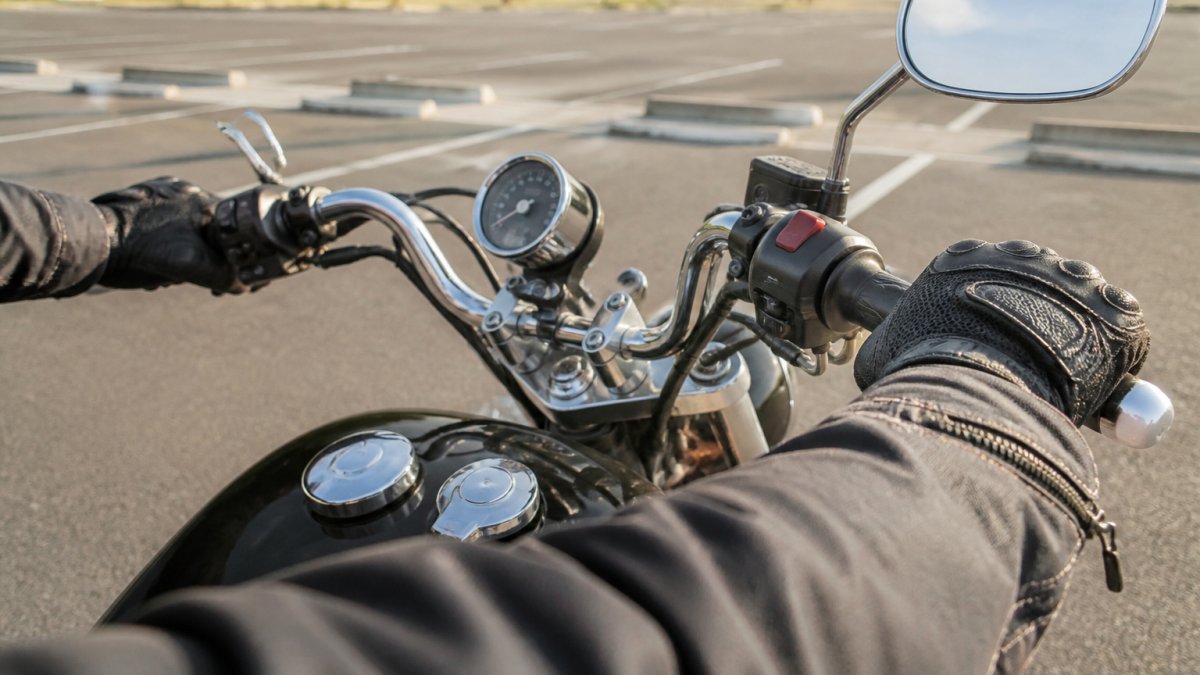
Motorcycle controls are the levers, pedals, and switches that manage speed, direction, and stopping.
Most beginners skip this: they ride before they can name what their fingers and toes are touching. That order is backwards, and it's where nerves come from.
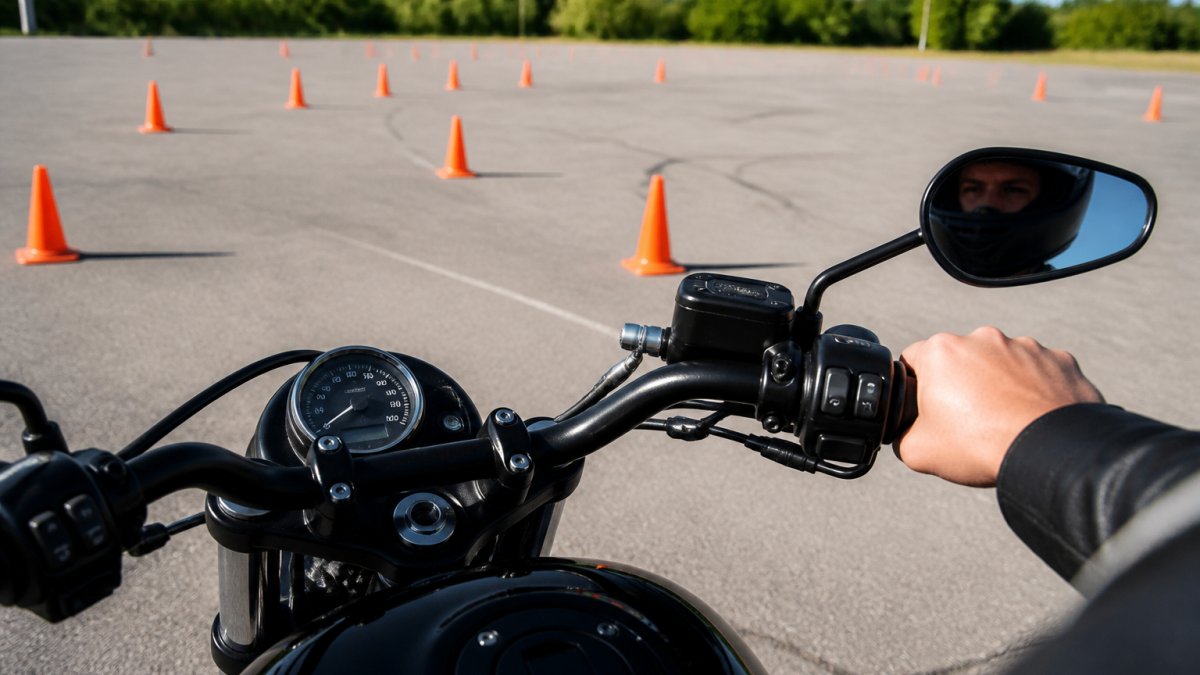
Hand Controls: Throttle, Clutch Lever, and Front Brake
The right hand does the most work. It twists the throttle to add power and pulls the front brake lever to slow down. The left hand pulls the clutch lever, which disconnects engine power from the rear wheel.
- Throttle: twist toward you to accelerate, release to slow
- Front brake lever: right hand, in front of the throttle grip
- Clutch lever: left hand, four fingers, squeezes toward the bar
One insider note: roll the throttle with two fingers wrapped over the brake lever, keeping your braking hand ready without letting go of the bar.
Foot Controls: Gear Lever and Rear Brake Pedal
Your left foot shifts gears. Your right foot works the rear brake. That split never changes, no matter the bike.
- Gear lever (left foot): lift up or press down to change gears
- Rear brake pedal (right foot): press down to slow the rear wheel
- Footpegs: rest your boots here, balls of your feet on the peg
A common mistake is resting your foot on the gear lever while riding, bump it and you'll shift when you didn't mean to.
| Control | Hand or Foot | What It Does |
|---|---|---|
| Throttle | Right hand | Adds engine power |
| Clutch lever | Left hand | Connects and cuts engine power |
| Front brake lever | Right hand | Slows the front wheel |
| Gear lever | Left foot | Changes gears |
| Rear brake pedal | Right foot | Slows the rear wheel |
| Engine cut-off | Right thumb | Kills the engine fast |
How to Use a Motorcycle Clutch and Throttle Together
The clutch and throttle meet in the friction zone: the small range of clutch lever travel where the engine starts to pull the bike forward.
Find it like this:
- Sit on the bike, engine running, in first gear.
- Hold the clutch lever all the way in.
- Slowly release it until you feel the bike want to move.
- That spot is the friction zone. Pull the lever back in to stop the pull.
Now add a little throttle.
For beginners, the goal is smooth, not fast.
According to the Motorcycle Safety Foundation's rider training resources, clutch and throttle control is one of the first skills new riders build, because nearly every other skill depends on it.
Motorcycle Gear Shift Pattern and Shifting Smoothly
Most motorcycles use a one-down, five-up shift pattern: first gear is one press down from neutral, and higher gears are lifts up from there.
Neutral sits between first and second. A green light on the dash usually confirms you're there.
Here's the full sequence:
- Neutral to first: press the lever down once
- First to second: lift the lever up firmly
- Second to third, and up: lift again, one gear at a time
Smooth shifting is timing: pull the clutch in, shift, then ease it out as you match the throttle to the new gear.
How to Stop a Motorcycle Safely: Front Brake, Rear Brake, and Engine Braking
Stopping well keeps new riders safe.
Use both brakes together, a gentle squeeze on the front, a light press on the rear.
Engine braking is your quiet helper: roll off the throttle and the engine itself slows the bike. It's smooth, saves your brakes, and gives more control on downhills.
A safe stop looks like this:
- Roll off the throttle.
- Squeeze the front brake and press the rear brake together.
- Pull the clutch in as you come to a stop.
- Put your left foot down to hold the bike up.
Practice stops from walking speed first, then from a slow roll. Build up only when each stop feels controlled.
A Low-Risk Practice Progression for New Riders
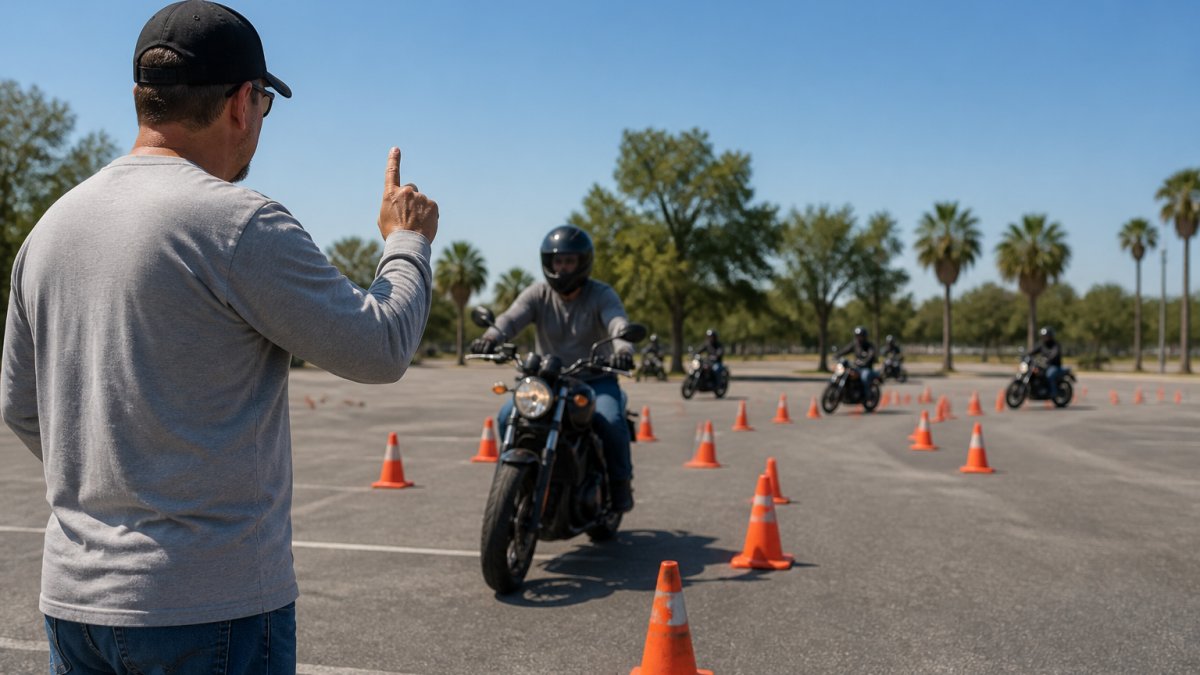
Speed is not the goal of early practice, control is. A structured progression builds skill safely because each stage isolates one control before you combine them.
Set Up the Practice Site First
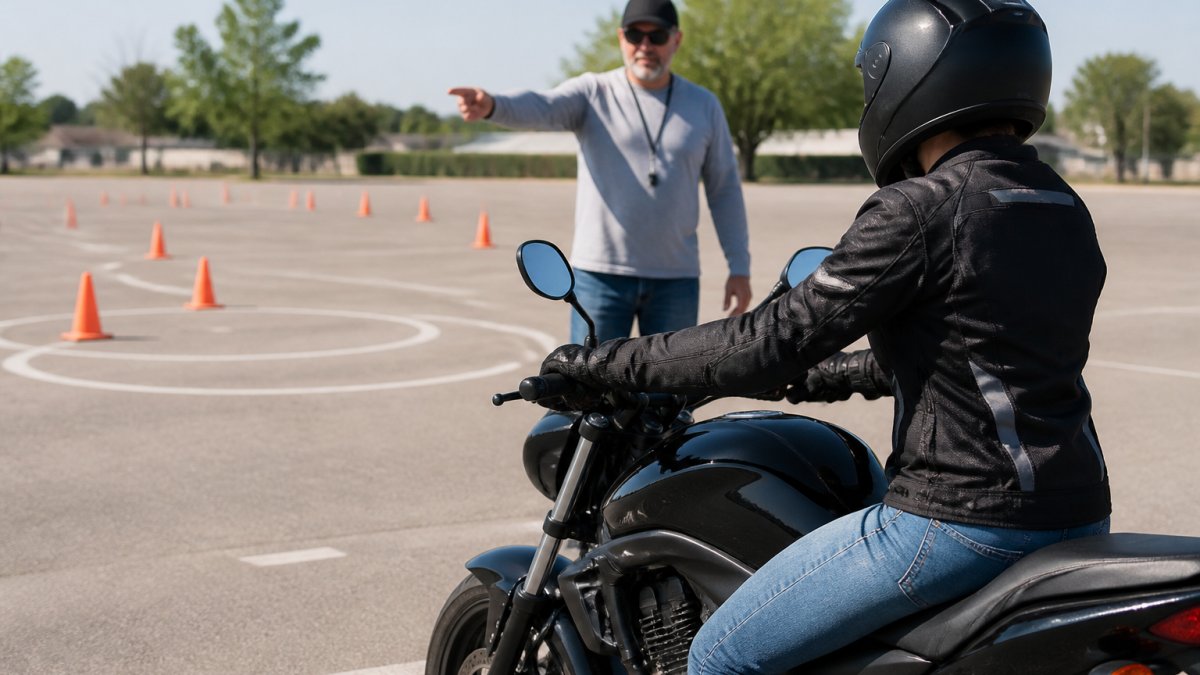
Before you touch the bike, pick the ground. A low-risk practice site has:
- Flat, clean pavement. An empty parking lot is ideal. Avoid gravel, sand, wet paint, and painted lines that get slick when damp.
- No traffic and no pedestrians. You need space to make a mistake without consequence.
- Good visibility. Daylight, dry weather, and a lot you can see across.
Walk the lot once before you start, checking for oil spots, loose gravel at the edges, and potholes.
Register for the Basic Rider Course →
Dress for the Fall, Not the Ride
Practice is still riding. A DOT-approved helmet, gloves, a jacket, long pants, and over-the-ankle boots protect you while you learn. The National Highway Traffic Safety Administration's motorcycle safety guidance recommends helmets and protective gear for every ride, including practice. Boots matter more than beginners expect, thin soles make the rear brake and gear lever hard to feel.
The Progression
Work through these stages in order, moving on only when the current one feels easy and repeatable.
- Controls check, engine off. Name and touch every control. Say it out loud.
- Friction zone walk. Engine running, first gear, clutch in. Ease the clutch out just enough to roll a few feet, then pull it back in and stop. Repeat until it feels boring.
- Straight-line starts and stops. Go ten feet, stop, reset. Focus on smooth clutch release and a light, steady throttle.
- Slow-speed turns. Wide figure-eights at walking pace. This is where clutch and throttle coordination gets tested.
- Gear changes. Shift up and down in a straight line. Learn the sound of the engine at each gear.
- Braking drills. Practice smooth, progressive stops from increasing speeds.
- Combined-control drills. Weave, turn, and stop in one continuous sequence.
Rushing this order is the most common mistake. Each stage builds the input the next one depends on.
Run This Pre-Ride Control Check Every Time
Before every practice session, run this routine:
- Tires: check pressure and look for damage or embedded debris
- Brakes: squeeze the front lever and press the rear pedal, both should feel firm, not spongy
- Clutch and throttle: confirm both move freely and return on their own
If something fails the check, fix it before you ride, a sticking control or a lever with no free play can't be trusted in an emergency.
Emergency Control Use and When to Seek Qualified Instruction
Emergency skills matter, but they belong on a closed course, not a public street. Hard braking, swerving, and quick stops demand supervised practice; trying them alone in traffic is how new riders get hurt. What follows is orientation, not a substitute for coached practice, it tells you what the controls do in an emergency so you know which input to reach for.
Progressive Braking Instead of a Panic Grab
Most new riders who drop a bike in an emergency grabbed the front brake. The fix is progressive braking: a light initial squeeze, then smoothly increasing pressure as weight transfers onto the front tire. Weight transfer gives the tire grip, grab instantly and it locks, and the bike goes down.
A workable sequence:
- Roll off the throttle and let engine braking begin.
- Squeeze the front lever progressively, light, then firmer.
- Press the rear brake at the same time to stabilize the chassis.
- Pull the clutch in as you approach a stop so the engine doesn't stall.
Practice this at walking speed first, then from a slow roll. Build speed only when each stop is smooth and repeatable.
Emergency Stops
An emergency stop is the same progressive-braking sequence, harder and faster. Two things separate it from a normal stop:
- Both brakes, together. The front does most of the work; the rear keeps the bike settled and helps at low speed.
- Straight and upright. Braking hard while leaned over is a separate, advanced skill. In an emergency, get the bike upright first, then brake.
Beginner courses typically drill emergency stops from about 15-20 mph in a closed lot until the stop is consistent. Do not attempt this on a public road.
If You Apply Too Much Throttle
The instinct is to grip harder, which makes it worse, a tight grip twists the throttle further. The correct response:
- Pull the clutch in. This cuts engine power to the rear wheel immediately, regardless of throttle position.
- Roll the throttle closed once your hand relaxes.
- Brake smoothly with both brakes.
The clutch is the emergency disconnect. Knowing that one fact prevents most accidental-throttle incidents.
If You Stall
Stalling is normal while learning and not dangerous by itself, the risk is a rider panicking in traffic. The recovery:
- Pull the clutch in and hold it.
- Confirm you are in first gear (press the lever down until it stops).
- Restart the engine.
- Ease the clutch out to the friction zone while adding a small, steady amount of throttle.
If you stall in traffic, get the bike moving or push it clear of the lane before troubleshooting further.
When to Seek Qualified Instruction
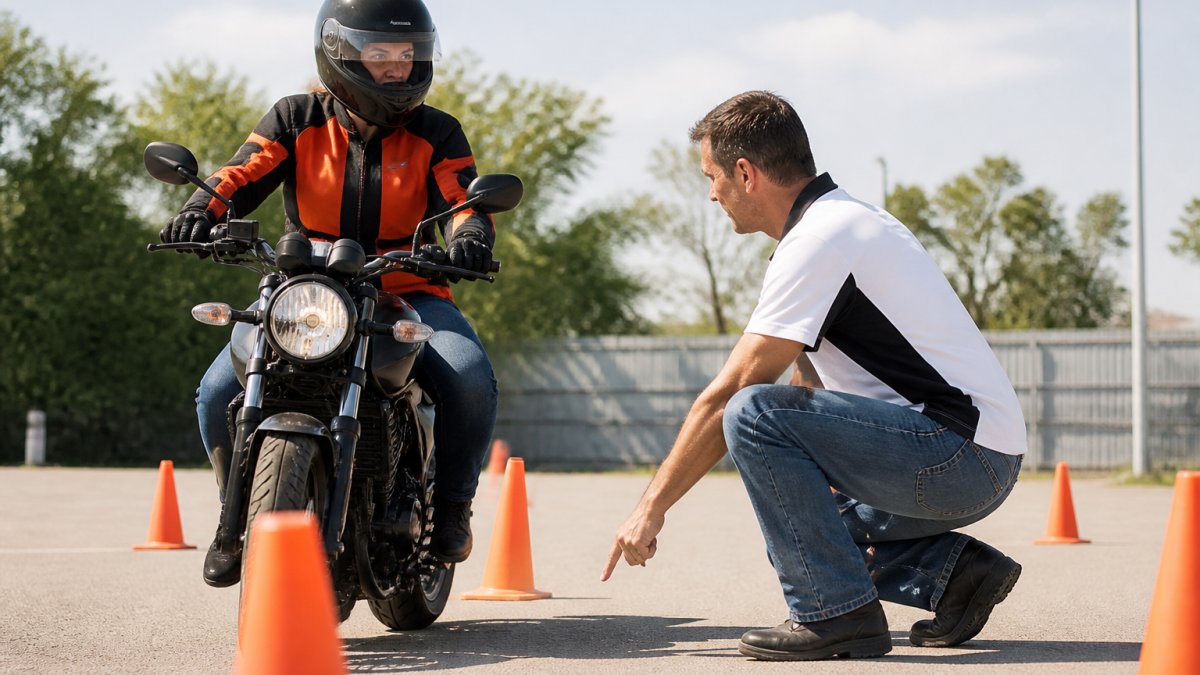
Emergency braking, swerving, and quick stops are the skills most likely to be practiced wrong and reinforced wrong, so structured training is the fastest safe path.
A common question we hear: "What if I don't feel ready after two days?" That worry is normal, and it's exactly why small classes help.
Some riders ask whether a course is worth it when they could study alone.
Riders who want to go further can look into the Motorcycle Safety Foundation's rider courses for advanced training after the basics.
Frequently Asked Questions
Where is the brake on a motorcycle?
Most motorcycles have two brakes. The front brake lever sits on the right handlebar, operated by your fingers. The rear brake pedal is on the right footpeg, pressed with your right foot. Use both together for the shortest, most stable stops. On a standard motorcycle, the right hand controls the throttle and front brake, so practice releasing the throttle before squeezing the front brake lever to avoid jerky stops.
What is the gear pattern on a motorcycle?
Most motorcycles use a 1-N-2-3-4-5 pattern, often called one down, five up. First gear is one press down from neutral, and each subsequent gear is one lift up. Neutral sits between first and second. Confirm your specific bike's pattern in the owner's manual before riding, since some models differ. Practicing the gear shift pattern while stationary helps build muscle memory.
How do you use the clutch and throttle together on a motorcycle?
Squeeze the clutch lever fully, shift into first, then slowly release the lever until you feel the friction zone where the engine starts to engage. Add a small amount of throttle as you release through the friction zone. This coordination is what makes smooth starts possible. Practice in a flat, empty lot at walking speed until the motion feels automatic.
How can a beginner practice motorcycle controls safely?
Start in an empty parking lot with no traffic. Wear a DOT-approved helmet, gloves, jacket, and over-the-ankle boots. Practice the friction zone, throttle control, and braking separately before combining them. Keep speeds under 15 mph during early sessions. A structured course like the MSF-certified Basic Rider Course provides coached practice and motorcycles, which reduces risk while you build control coordination.
Learning to handle motorcycle controls safely takes patience, the right gear, and a place to practice without pressure. If you'd rather learn with a certified instructor watching every step, Tampa Motorcycle Training is ready to help. Our Basic Rider Course gives you MSF-certified coaching, small classes capped at eight students, and motorcycles provided, so you can earn your Florida endorsement in two days. Get started with Tampa Motorcycle Training and ride with real confidence.